If you’re planning a trip to the paradise island of St. John in the US Virgin Islands, the best way to experience its waters is by scuba diving. This popular marine sport allows you to fully immerse in the island’s magnificent underwater world where you can get up-close and personal with all sorts of marine animal and plant life. Some of the most popular diving spots near St. John Island include Carvel Rock, an uninhabited islet in the Caribbean, and Congo Cay, a shallow reef that’s home to a wide array of colorful fish and other amazing sea creatures.
But before you go exploring the underwater wonders of St. John Island, you should know that one of the requirements for a beginner is to enroll in one of the scuba diving lessons offered in the island. You may also have the option to go on a guided one-time “discovery dive” after the lessons, which does not require a diving license. But if you’re looking to explore more of the dive sites nearby, you will need to get a license.
If you’re considering scuba diving in St. John Island, USVI, anytime soon, there are a lot of details you should know first. To help you out, here are some of the scuba diving basics to get you started.
What Is Scuba Diving
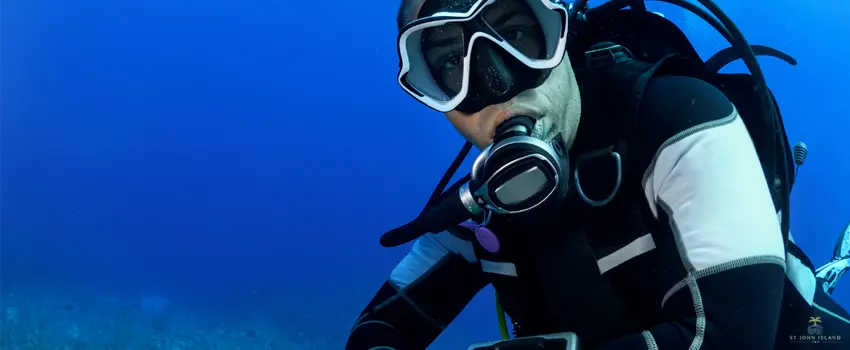
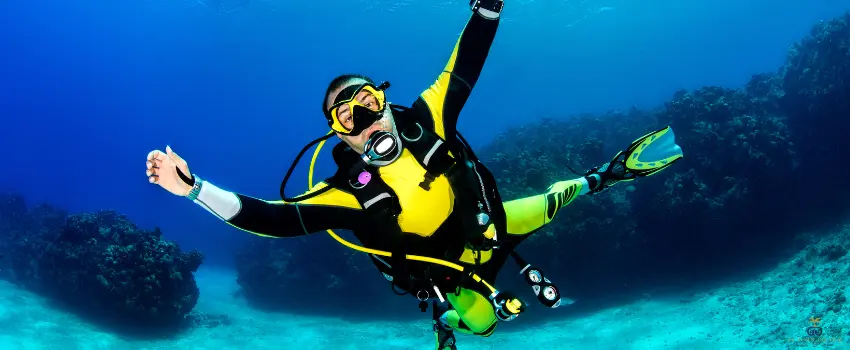
SCUBA, an acronym for Self-Contained Underwater Breathing Apparatus, is a popular sport that involves diving and swimming underwater while breathing compressed air from a tank. Because the scuba diving equipment allows for longer stays underwater, divers can better experience the world underneath bodies of water, including rivers, lakes, estuaries, seas, and oceans.
While it’s known to be a leisurely activity, scuba diving can also be helpful for science and research. Marine biologists, for instance, scuba dive all the time to help them better understand their studies. Other professionals that often utilize scuba diving include marine photographers and videographers, public safety divers, oil platform divers, shipwreck salvagers, rescuers, military frogmen, and more.
How To Scuba Dive: The Basics
You can only improve the skills needed for scuba diving by regularly practicing and refining the techniques you acquired in your scuba diving lessons. You’ll have a stronger foundation to work with when you’re ready to move on to more advanced skills.
1. Pre-Diving Safety Check
After mastering the fundamentals of scuba diving, the pre-dive safety check is among the most crucial steps. Your scuba instructors will likely be keeping an eye on you while you perform this examination, as it is a critical component of learning how to dive. Your diving partner will do the pre-dive check to ensure that you are both adequately equipped for your dive.
The value of a great buddy is best illustrated by the fact that you and your friend practically trust each other now. Begin With Review And Friend (BWARF) is the acronym PADI employs to help divers remember the procedures of the safety check. If you want to learn how to scuba dive, you need to be familiar with the five components of safety check procedures:
- Ensure the Buoyancy compensator is working properly.
- Examine the Weights.
- Inspect the Releases.
- Check the Air.
- Give the Final approval.
After completing all these steps, you are ready to go scuba diving.
2. The Five-Point Descend
Initially, you will be going through the process of learning to scuba dive. Here are the five steps:
- Signal – This initial step has everything to do with collaborating with your buddy. You must always ensure that they are aware of your location and intentions, so make sure you have your partner’s attention and use the hand signal you have learned to indicate that you wish to descend.
- Orientation – Due to the currents, you must be able to locate your way back to the starting point. Utilizing a rock or other natural markers is one of the simplest methods to orient yourself. Some highly experienced divers can use the sun’s position, but you should only do it if you’re an expert.
- Regulator – The regulator is the mouthpiece through which air flows from your tank. You would be amazed by the number of people that retain their snorkel mouthpiece as they descend, primarily because it can feel the same.
- Time – Because you must reserve sufficient air for the return flight, you must check the time before beginning your descent. This indicates that you are aware of the time remaining and the time required to reach a given point. It would be best if you also recorded the time you began diving in your logbook.
- Descent – Now that you’ve made it this far, you can begin your descent after all the necessary safety checks have been made.
3. Hand Signals
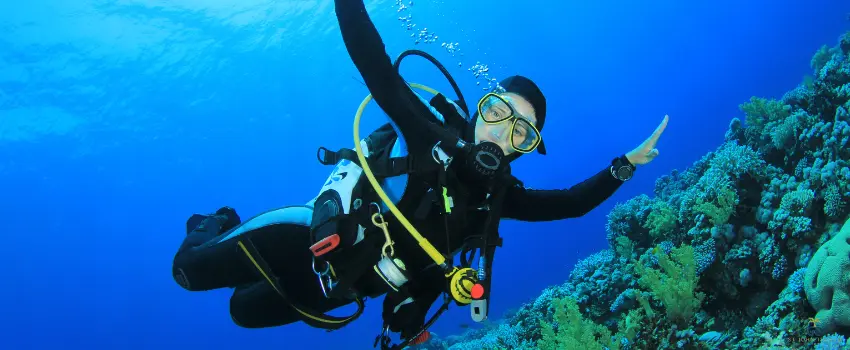
Developing the ability to communicate coherently underwater with your dive partner requires practice. Spending a few moments reviewing underwater diving signs with your dive partner facilitates communication during scuba diving. Divers employ universal hand signals to convey different information like ascent and ear problems.
4. Emergency Ascents
Learn the various emergency ascent methods and when each should be used.
- Normal Ascent – If it’s safe to do so, the preferred method is a normal, planned ascent. Remember, the question lies in out-of-air and low-on-air situations. If a diver is experiencing low-on-air, there is no need to panic, the best thing to do is drop his weights and swim slowly to the surface. In most situations, a diver can alert his buddy, make the hand signal for ascend and make a normal ascent to the surface.
- Alternate Air Source Ascent – If a scuba diver needs to ascend quickly, but their primary air source is out of commission, the alternate air source ascent is the next best option. When one diver runs out of air, the other should immediately begin a controlled ascent to the surface while both divers regularly breathe from their alternate air sources.
- Emergency Swimming Ascent – When executed correctly, this method lets a diver who has run out of air ascend without endangering his dive partner. By releasing oxygen from his buoyancy compensator and breathing out carefully, a diver can perform an emergency swimming ascent without risking lung over-expansion.
- Buoyant Emergency Ascent – The only thing worse than a buoyant emergency ascent is drowning. A diver who runs out of air, unable to reach his friend, and too deep to do an emergency surface marker buoy can dump his weights and rocket to the surface and perform a buoyant emergency ascent. As the diver ascends, the air in his buoyancy compensator will expand according to Boyle’s Law, accelerating his ascent until he reaches the surface.
Key Takeaway
Diving into the ocean’s depths can be an exciting and educational adventure. If you learn the fundamentals of scuba diving, as mentioned above, you can reduce your risk. If you put in the time and effort, you, too, can develop the skills and confidence necessary to dive safely and confidently in any circumstance.
Explore St. John Island while honing your scuba diving skills.
If you’ve recently earned your open water scuba diver certification, you have reason to celebrate. Keep in mind that the best method to become a more proficient diver is to practice the skills you learned throughout your training. St. John Island in the Caribbean is a great place to go scuba diving and perfect your skills while immersing yourself in your new hobby. Nothing could be better than the full complement of services, leisure, and relaxation that this island provides.